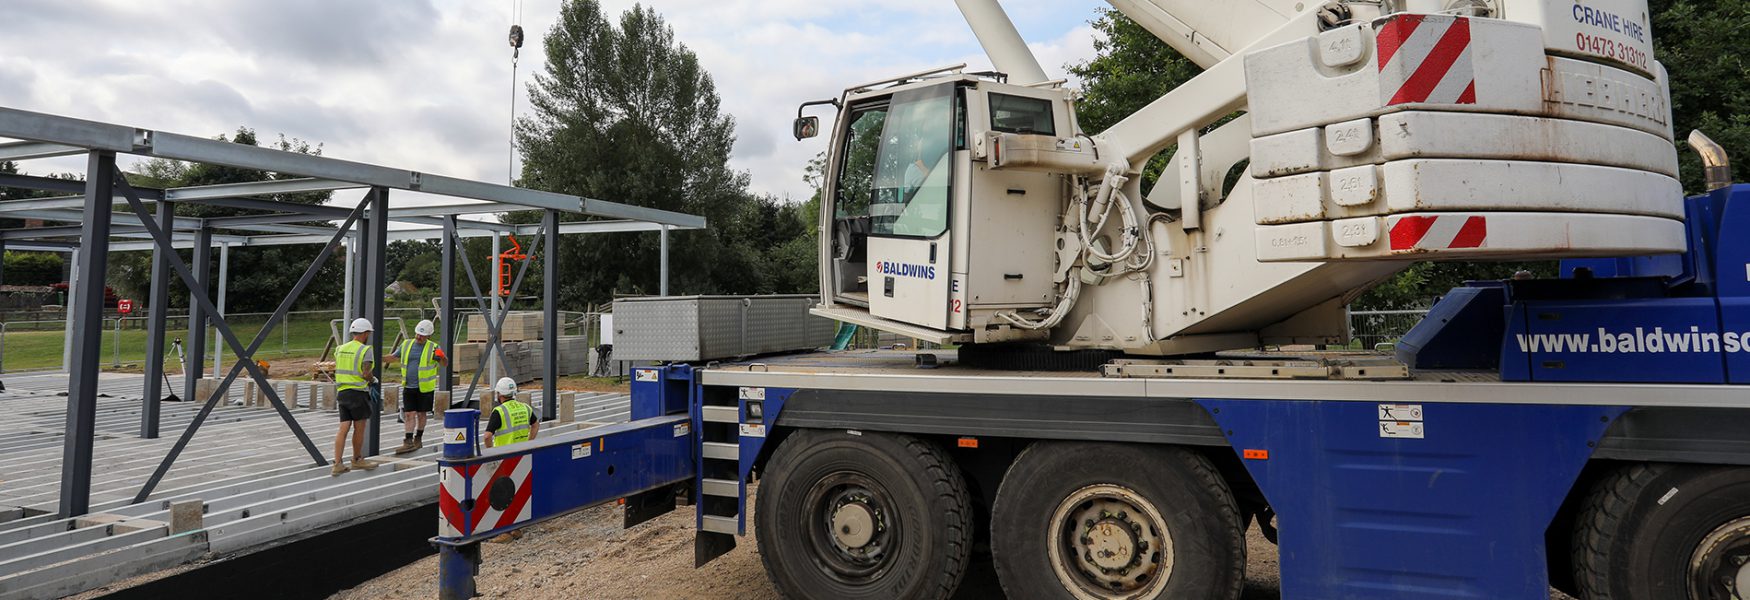
Beam & block flooring : installation guide
The guidelines below are recommended to be followed to ensure a smooth installation of your flooring system.
Before installing the Poundfield beam system the following checks must be carried out:
- Over-site has been cleared of vegetation and relevant weed-killer treatments have been carried out
- Sufficient void from ground to underside of beams has been checked and confirmed (Architect or Local Building Control will confirm this based on ground conditions – standard minimum of 150mm+)
- Confirmation on whether a DPM is required in cases where ground conditions are poor
- DPC has been laid over the internal substructure ready to receive the beams
- Drainage is installed in its required positioning before beams are laid and all services are piped out or marked for spacing requirements
- Ensure the adequate ventilation requirements have been met and lintel sets are cured and ready for laying on-top of
Ensuring a smooth installation of your flooring system
The guidelines below are recommended to be followed to ensure a smooth installation of your flooring system. A risk assessment & method statement of your site must be carried out by a competent person prior to your install. If you are unsure at any stage of your install please contact our sales office.
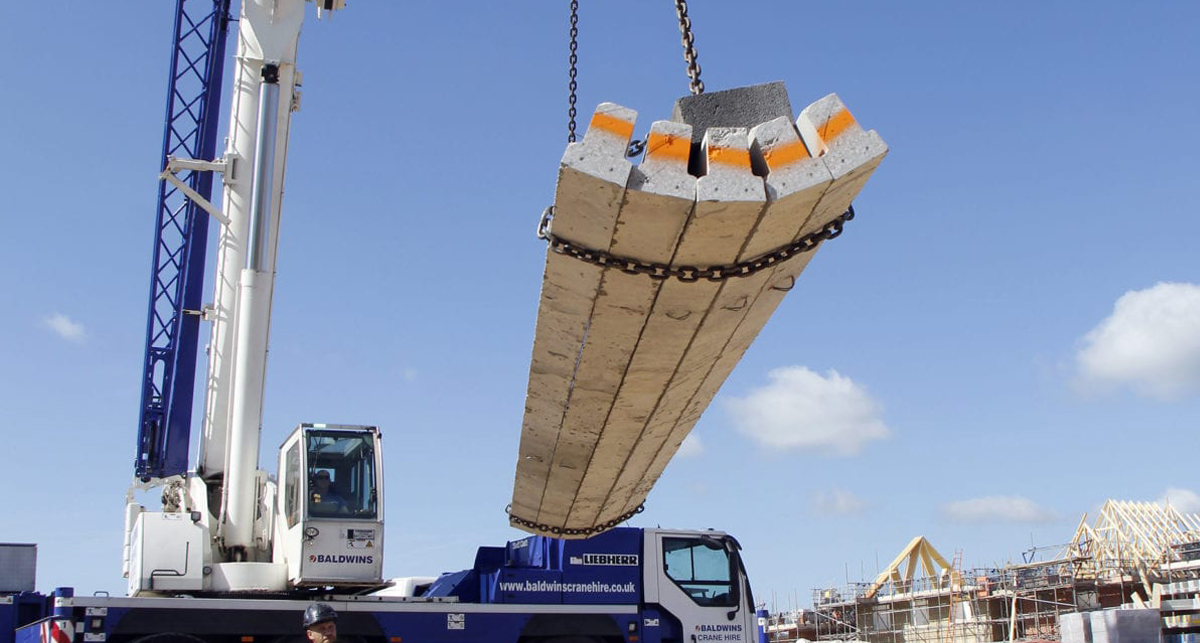
- Ensure you have the correct lifting equipment if using mechanical plant, lifting points should be within 300mm of each end of the beam
- If using manual labour, please ensure that the correct PPE is used as to avoid injury or harm to hands
- 100mm nominal bearing is required on the beams at each end based on brickwork substructures
- Identify and adhere to the recommended start points for your project, these will be indicated by the Beam office if you are unsure
- Ensure that all doubles and triples are placed where indicated on the floor plans
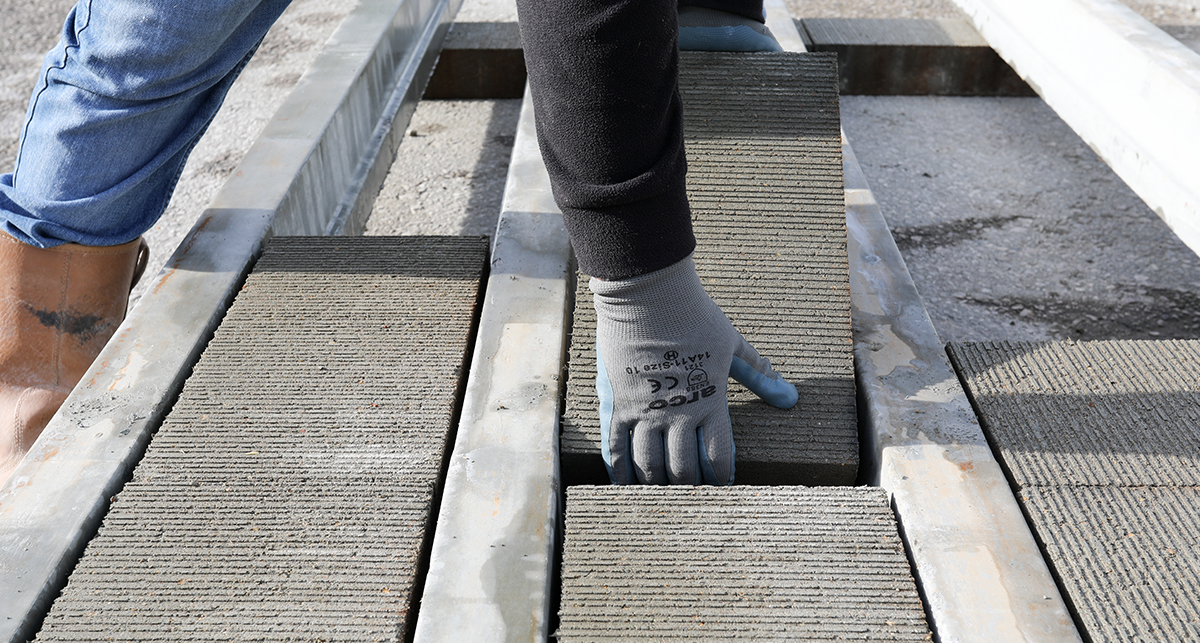
- Use infill blocks as spacers at either end of the beams, the remaining infill blocks can then be dropped into place as required
- Trim any blocks as required around protruding drainage pipes & services
- Cut blocks where required and prep substructure walls for slipbricks
Wet works
Once the beams and infill blocks are installed, the ‘Wet Works’ are now required to complete your floor. To do this, follow these simple steps:
- Mix up a standard brick mortar for bedding the slip bricks down
- Slipbrick locations can be found at either ends of the beams in the floor and along a block strip onto a substructure wall. These will be indicated on your design
- Standard practice is 2 no slip-bricks per 440mm spacing (Maximum block) and 1no slip-brick per 215mm spacing (Narrow block)
- Please ensure that the relevant cross-ventilation airflow between internal bays is met to conform to Building Regulations
- Once the floor has been completed, wet heavily with a hose ready for grouting
- Mix up a grout mix of 4:1 sharp sand – cement and brush over the floor and into the joints with a stiff brush
- Mix up a concrete mix using a sufficient aggregate to a C30 standard and deposit within the voids between any doubles or triple beams. This is to create a unified bond between the beams.
- Do not grout Garage Floors. These must remain un-grouted due to Composite Action.
Prepare the floor for screeding
Once the Wet Works have been completed and your floor has set on the concreting. Prepare the floor for screeding.
- Brush off any excessive detritus from the floor to ensure a smooth level surface
- A DPM may be required – please confirm with Architect specification / Local Building Control for affirmation if required
- Install the specified insulation product, ensuring the thickness and grade matches what has been specified
- Confirm with Architect/Engineer for your project on the screed type/reinforcement required – Garages must have a reinforced screed often utilising a mesh reinforcement A142 or A98
- The screed must then be installed by a competent person/s.
Stacking and lifting guide
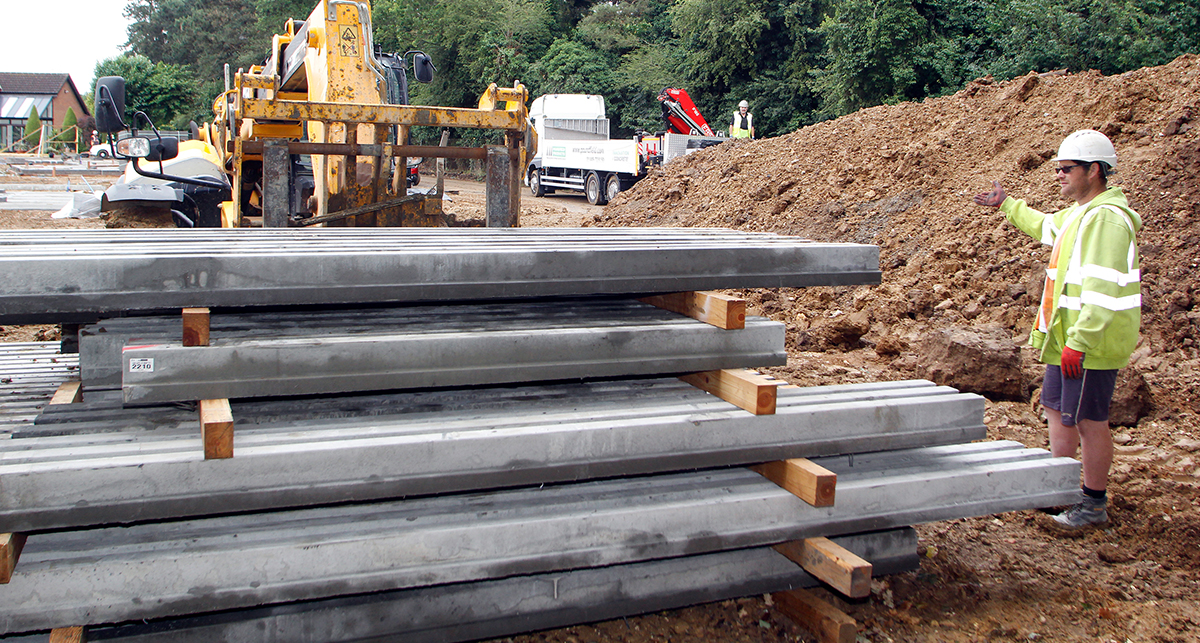
- The flooring beams must be stacked the right way up, with timber bearers placed just in from the ends, (maximum four times unit depth, “H”) vertically above one another.
- Care should be taken in the stacking and general handling of the units, taking into account the weight of the products, the stability of the stacks and the load carrying capacity of the ground.
- Timber bearers must be lined vertically through the stack at a maximum 250mm from the end of the units.
- In addition to the precautions to be observed when stacking, e.g. the position of bearers, care must be taken to ensure that the ground or surface on which the components are to be stacked is suitable.
- The ground must be firm and level, and wherever possible stacking of components should be on firm hard-core or oversite concrete.
- The height to which components can be safely stacked on site will be greatly influenced by the condition of the ground on which they bear.
- Another prime consideration should be the height to which a man can reach to pass lifting chains or slings around the components.
- Similar length units should be stacked together.

Safety warning
Protective clothing should be worn. T-beams compact in on themselves when lifted, KEEP HANDS CLEAR TO AVOID INJURY.
Ensure good manual handling techniques.
- Beam products are generally delivered on articulated vehicles therefore appropriate hardstanding and access is essential.
- The Contractor must inspect the floor units at the time of delivery on supply only contracts and sign the delivery ticket, as no liability for damage can be accepted at a later date.
- Ensure before lifting that the crane is sited on firm level ground and there is sufficient clear working area for turning and slewing with no overhead obstructions.

